
Happy Monday! (I know, there's nothing really happy about a Monday) I had fun yesterday playing with one of my Globecraft Memories frames and some metal! If you remember I spent most of my time at CHA at the GCM booth and came home with quite a few naked kits to play with!

For todays project I wanted to emboss on some copper sheets to show the versatility of these wonderful frames. I started with LX7701 Lg Damask Stencil from Dreamweaver Stencils and large piece of copper metal. (Lynell carries some lovely metal sheets from Merc Art but none of the sheets were quite large enough to do 3 ovals, so I used a pack from my stash.
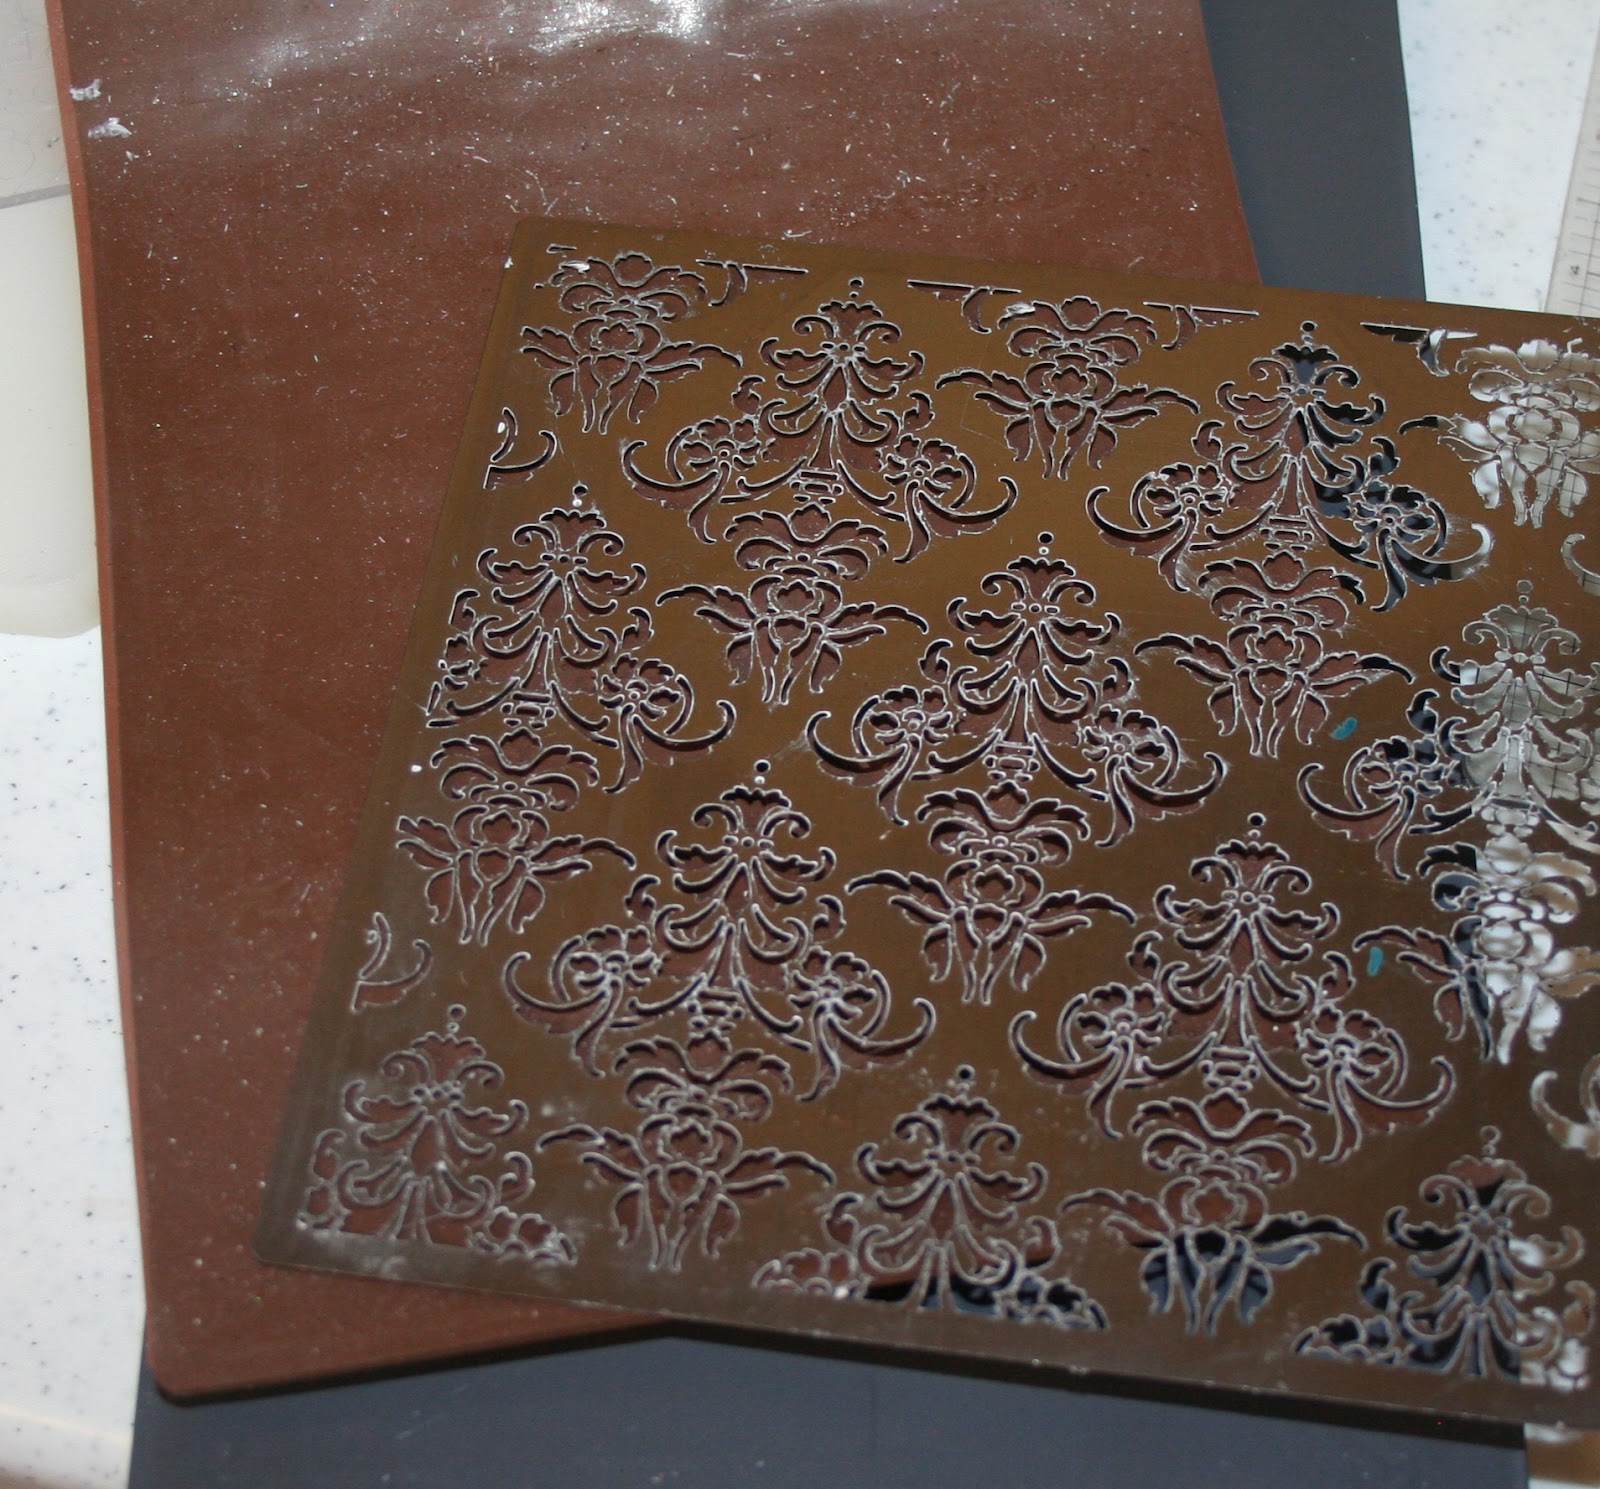
Gather your stencil, metal, and embossing tools. I used my Epic machine, the embossing platform, and 2 thin embossing mats. Here's what the copper pieces look like when they first come out of the machine before you do anything to them.

This is a pic of what the Classic Traditional Oval Bubble Frame kit looks like out of the package.

It had 3 frames that I needed to cover with the copper, so I turned them to the back and traced ont the copper with a sharpie.

Next, I applied Paprika Red, Gold Star, and Winter Red Alcohol Solutions ink from Dreamweaver Stencils using a felt applicator tool and just smeared the ink around. I then sanded over the top of the embossed parts so the copper would stand out against the dark red.

Here's a closeup of the alcohol inked portion of the finished project. (After the metal was adhered to each chipboard piece I finished the edges on all the frames before assembling by sanding gently, then reapplying more of the Winter Red alcohol ink to the edges of the metal and the chipboard.)

After all the pieces are embossed, cut, and inked I assembled the layers using Black Foam squares from 3L Scrapbook Adhesives between the layers. I also had to attach my easel base for the frame...here's what that looks like unfolded...

A small portion at the bottom was going to show so I embossed that with Versamark ink and Aged Copper Embossing Enamel from Stampendous!

After I added the easel I added some embellishments to the front of the frame. The Pine Tree is actually the top portion of a swag of yummy glittery floral wire that I got at Michael's last year.

I added a sentiment tag using "Season's Greetings" from Stampendous! embossed with Clear Detail powder and Versafine Onyx Black ink by Tsukineko. This was then punched with my EK Success dog tag punch. I added some Copper wire from May Arts and glued the 3 pieces to the frame with NEW DODZ glue dots from 3L Scrapbook Adhesives.

I also added a sheer brown bow made with May Arts ribbon to the top of the frame.
Here's what the side view looks like when its complete:

I hope you enjoyed my project today! For videos on hw to put these frames together check out THIS LINK. Thanks fr stopping by! -Cyndi
Fabulous frame Cyndi!
ReplyDeleteBeautiful creation...I never would have thought of using the metal for that technique!
ReplyDeleteTHAT IS SO GREAT, REALLY BEAUTIFULL HUGS jOYCE
ReplyDeleteSo very clever,m love this Cyndi!
ReplyDelete